Showing posts with label KID CRAFTS. Show all posts

Kids Crafts: Critters

Tuesday, July 10, 2012

Here's a super simple kid craft idea to keep little people busy while you're cooking supper or trying to get something else done. You can just grab an old TP roll and give them crayons and pipe cleaners! If they're old enough to use scissors, they can use those too. If not, just help them by poking holes and let them at it. It's amazing how busy something so simple can keep them. :)


Kids Crafts: Trees & Leaves

Wednesday, June 27, 2012

This all started ages ago when Gavin and I made a christmas wreath out of craft foam. There were so many scraps after cutting out all those little hands and I couldn't let them go to waste. So I spent forever chopping them into leaf shapes of different sizes. I got so many, and it felt good not to toss it all. Fast forward a few months and I got the idea to make a tree with Gavin. 


I have mentioned before that he is passionate about glue, so I took a large piece of paper that I had on hand, scribbled out a bare tree, some grass & a sun. Then I gave him the leaves and glue and he went at it. He had a blast, and it actually made a really nice picture that not hangs on his bedroom door.


Kids Crafts: Paper Bag Puppets

Monday, May 28, 2012

I've decided to start putting together regular posts with ideas for simple crafts to do with kids. My aim isn't really to come up with an amazingly inventive and original crafts. I'm more interested in motivating myself to create regularly with Gavin and to inspire others to get creative with their kids. So you can expect simple crafts and probably a lot of tried and true ones that many of us did as kids. I hope you'll join in and share your favourite kids craft ideas along the way!

The first one falls under the "tried and true" category for sure... paper bag puppets!


I got a bunch of brown paper bags for free a while ago and the first thing I thought of was this old project. Kids can do this if they are really young and big kids (like Mason and I) enjoy it too. Since Gavin isn't a skilled cutter yet, I had to help turn his ideas into a reality. He wanted to make a t-rex so I cut out a basic head shape, a piece for the bottom of his mouth and two arms. After that it was all about colouring and glue so Gavin took over from there!


Here is what we made:


I love sitting down as a family to make things, Mason always surprises me with his enthusiasm once he gets into it! :)


What are your favourite crafts for kids?

Christmas Decor: Tree Garland + Tutorial

Wednesday, November 30, 2011

As you know, I've been trying to do some cheap holiday decorating. My latest endeavour was a cute tree garland. I even drew up a little template so you can make one too.

Just click here and save this template, print it off and cut it out of the paper of your choice! I chose red and green because it's what I had already, but I think it would be really cute to use glitter card stock. This would be a fun activity to do with any little helpers you have around your house. I did everything by hand, but if you have a silhouette, you could definitely use it to cut out your trees. You could also print the template onto your paper and just cut that. I used 12 inch card stock though, which doesn't fit in my printer or my silhouette.

What you need:

tree template
card stock
a pencil
scissors
small hole punch or X-acto knife
thin ribbon, twine, or anything else you want to string them on

How to make it:

Cut out the template.


Trace it onto the back side of your paper.
[I used 2 sheets of 12x12 and got 12 trees out of it... but I only used 9]


Cut out all those trees!


Use a small hole punch or x-acto knife to cut a little hole near the top, centre of the star.


String your trees! I wanted a pretty way to do this and have them hang straight, so here's what I did...

A few inches into your ribbon, fold it in half.


Thread this fold through the tree from the back to the front, opening the fold so you have a loop.


Put the loop behind the point of the star. You will have to twist the ribbon for it to lay flat.
(you'll understand what I mean once you get to this stage)


Gently pull the ends of the ribbon tight. If the ribbon you use is stiff, like mine was, it will help to press it down on a hard surface with your fingernail to crease the ribbon and prevent it from coming loose.


Repeat the last 4 steps for all of the trees. You might need to tweak the length between them all so they are evenly spaced, but it's easy to do. You just have to gently loosen the loop from one side (the side you want to be shorter) and pull the excess to the other side (that you want to be longer).

Finally, use a little tape to hang it up. This one went in Gavin's room.


And guess what? I had all supplies on hand, so this decoration was free!


Kids Christmas Wreath Tutorial

Tuesday, November 15, 2011

As I mentioned at halloween, I'm getting more into decorating for holidays this year. Gavin just makes it fun! I decided to do a little christmas craft this weekend that we could hang up as a decoration. It's incredibly simple and comes out really cute. Depending on the age of the child, they can be more involved in each step. Since Gavin isn't even three yet, he can't trace his own hand or cut with scissors, but he still had lots of fun. I put together instructions, but not a step by step photo tutorial. It's pretty easy, look at the photo for reference.


What you need:

Green craft foam or construction paper
Red (I didn't have red so we used blue) craft foam or construction paper
Plain card stock, for the base
White glue
Markers (washable!)
Scissors


How to make it:

Trace your child's hand on green craft foam or paper.

Cut a bunch out, we used 12 (6 in a light green and 6 in a darker green). These will be your leaves.

If your child is too young to help with tracing and cutting, hand them some markers to colour on the leaves (or their arms or face) while you do the prep work.

Draw a circle on card stock, as large as you want your wreath to be.

Cut out the circle and cut the centre out, leaving about 1.5 inch width (so it won't show).

Fold the other coloured piece of craft foam in half and draw half of a bow, connecting at the fold.

Cut the bow out, on the fold, so it is somewhat symmetrical. Cut a centre piece (the "knot").

Start gluing the leaves on, starting at the bottom centre. Leave a gap so they don't quite meet. This is where the bow will go.

Glue and overlap the leaves, all the way around. Be sure to overlap the top two. This process is really forgiving!

Finally, glue the bow on the bottom centre.

Set out to dry, probably overnight at least.

Use some tape to hang where you like. Gavin's went on his bedroom door!

Glue

Monday, September 26, 2011

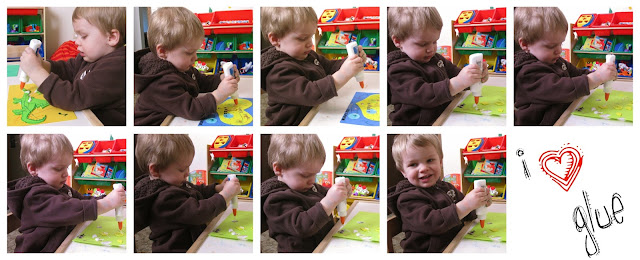
My child loves glue.

Of all the fun, exciting, colourful art supplies that he could choose from, he choses plain white glue.

He can spot it from a mile away at the store and he always wants to use it at home.

And what exactly does he do with glue?

Just squeezes giant globs of it onto paper, of course!

He doesn't have much interest in sticking things together with glue, and if he does, it's really only so he can pour a lot more glue on top.

So I had an idea the other day that I thought might merge his glue love with my love of colour, in hopes that I might be more inclined to let him squirt glue on paper to his heart's content AND that he might find it even more entertaining.

Supplies:

3 bottles of white glue
3 colours of tempera paint
spare, airtight container/ziploc bag

How I made it:

-Pour about 1/3 - 1/2 of the glue out into a separate container (save it for later, why waste?).
-Fill the bottles most of the way up with tempera paint.
{make sure you leave some space so it mixes well when you shake it up}
-Replace the lid and shake them up.


And.... He loves it!


After squeezing a bunch on the paper I suggested he get his hands in there. It was a sticky mess, but totally worth it (and washable too!).


High Five Fridge Magnet Tutorial

Monday, March 14, 2011

Good Morning!

I made some of these for my son the other day on a whim, but they would be a great craft to do with your child if they are old enough to work with scissors. Before you get started, read through the directions. I think that it might be easier and/or tidier to swap step 2 and 3, but it doesn't make a big difference in the end, and doing it the way I did means your little scissor-student would get more practice.

What you need:

Self-adhesive magnet sheet
Craft foam
Washable marker
Scissors

Here's how:

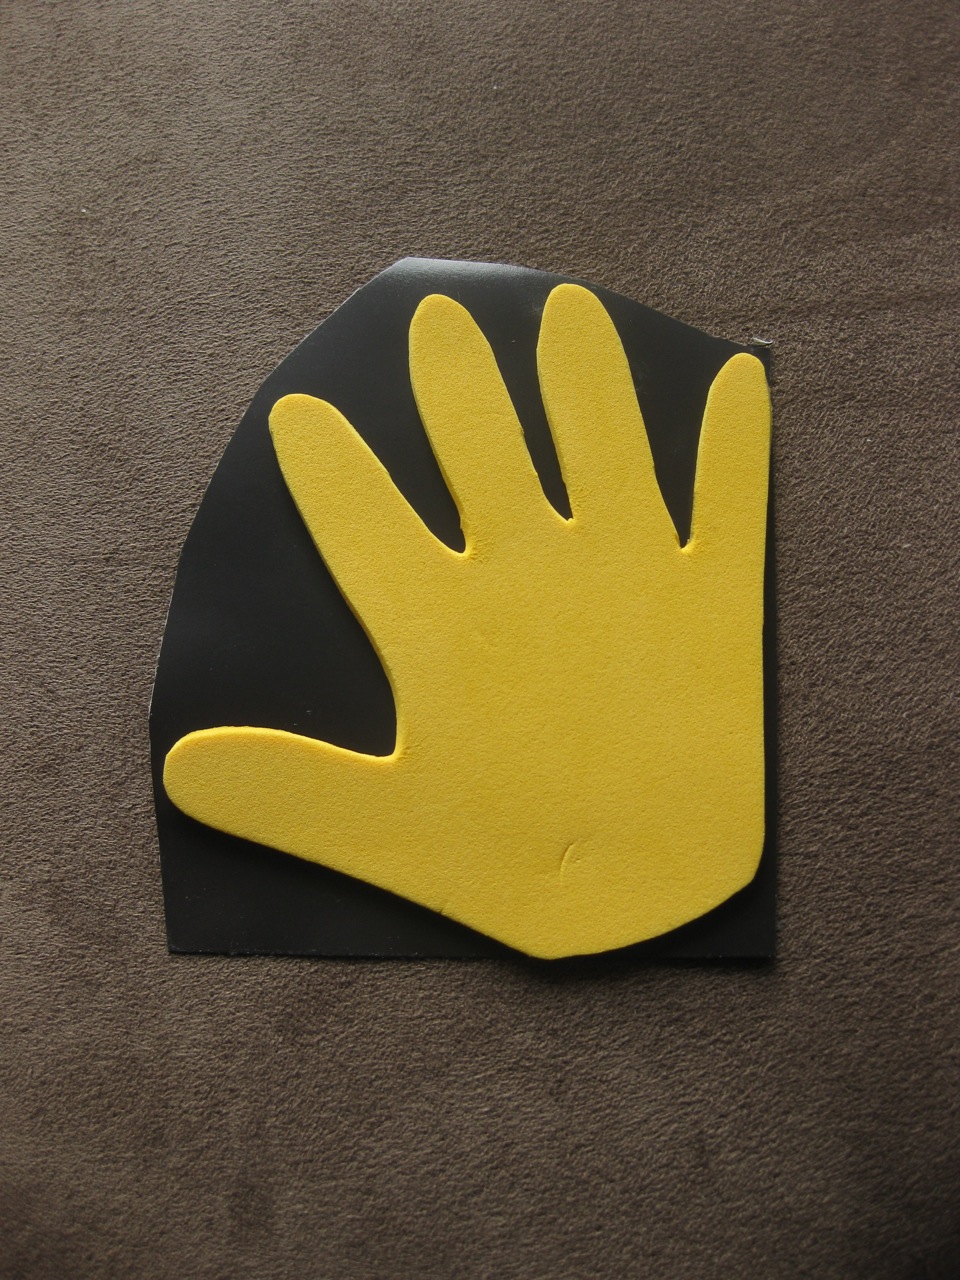
1. On the craft foam, trace both little hands (or have your child do it, if they have the skills).


2. Cut out the hands.


3. Peel the backing off of the magnet and stick your little foam hands on, with the traced lines facing down.


4. Trim the excess magnet from around the hand. (optional: decorate the hand)


And that's it! Stick these little hands on your fridge at your child's level.


They can give them high fives, and play with them on the fridge (or anywhere else). Gavin is still pretty interested in how magnets stick together, so these will be lots of fun.

Valentines & Crafting With Toddlers

Monday, February 14, 2011

Happy Valentines Day!

I hope you are having a love-ly valentines day. ;) Yesterday morning Mason slept in, so while he was snoozing Gavin and I made him a valentine (and other random works of art). Crafting with Gavin is something I really should do more often because, as I discovered yesterday morning, he loves it. It held his two-year-old attention span for almost 2 hours straight!


It was a total blast doing this with him. I put his little table and chair set into the middle of his bedroom floor. I let him pick out a few different coloured pieces of fun foam and colourful paper from my stash and I brought in a ton of stickers, some school glue, and some markers that were hiding away in the corners of my craft supply cabinet. The first funny thing I learned was that this child loves glue! He could just sit around all day and glob glue all over everything.


The second thing I learned was that crafting with toddlers takes a lot of self control on my behalf. Why? Because it is just going to be a big mess and there is nothing you can do about it. If you try to keep your play area perfectly clean while a little person crafts, then you are going to ruin their fun and interfere with their creativity. I made sure I didn't let him have more than one marker at once and I didn't let him run totally amuck with the glue, but other than that I let him make a big mess and have fun. All it took was some soap and water to clean up, no big deal!


{ This is the finished valentine Gavin made. All I did was cut out hearts & placed the stickers :) }