
I told you guys the other day that I've been working on a gallery wall in our living room and today I thought I'd show you how to dress up a really neat shadow box picture frame. I found this one at Michaels the other day for a really good price. It has three little dividers inside the frame so you can choose the position of the glass and anything else you put inside. I think these are so cool because they leave so much room for you to be creative!
Basically, I left the glass at the very front, placed a cute border behind the first divider, then placed some card stock with the photo on it. Here's how put it all together:
What you need:
An 8x10 inch shadowbox photo frame
An 8x10 inch sheet of card stock
4 - 2x3 inch pieces of craft foam (any colour, they will be hidden)
Glue dots
A 4x6 inch photo
A pencil
A ruler
A border (I cut mine on my silhouette)
Here's what to do:

1. Roll a few glue dots onto one side of a piece of fun foam, press a second piece on top. Repeat with the other two so you have this:

2. Using your ruler, find the centre of the card stock, horizontally and vertically. Place on dot in the middle, but remember that most of the card stock will be visible in the frame, so you don't want to mark it anywhere else.

3. Roll some glue dots on the centre of the card stock. Centre the foam stack and press it onto the glue dots.

4. Roll some glue dots on top of the fun foam stack, centre the photo on top and press it on. Set this aside


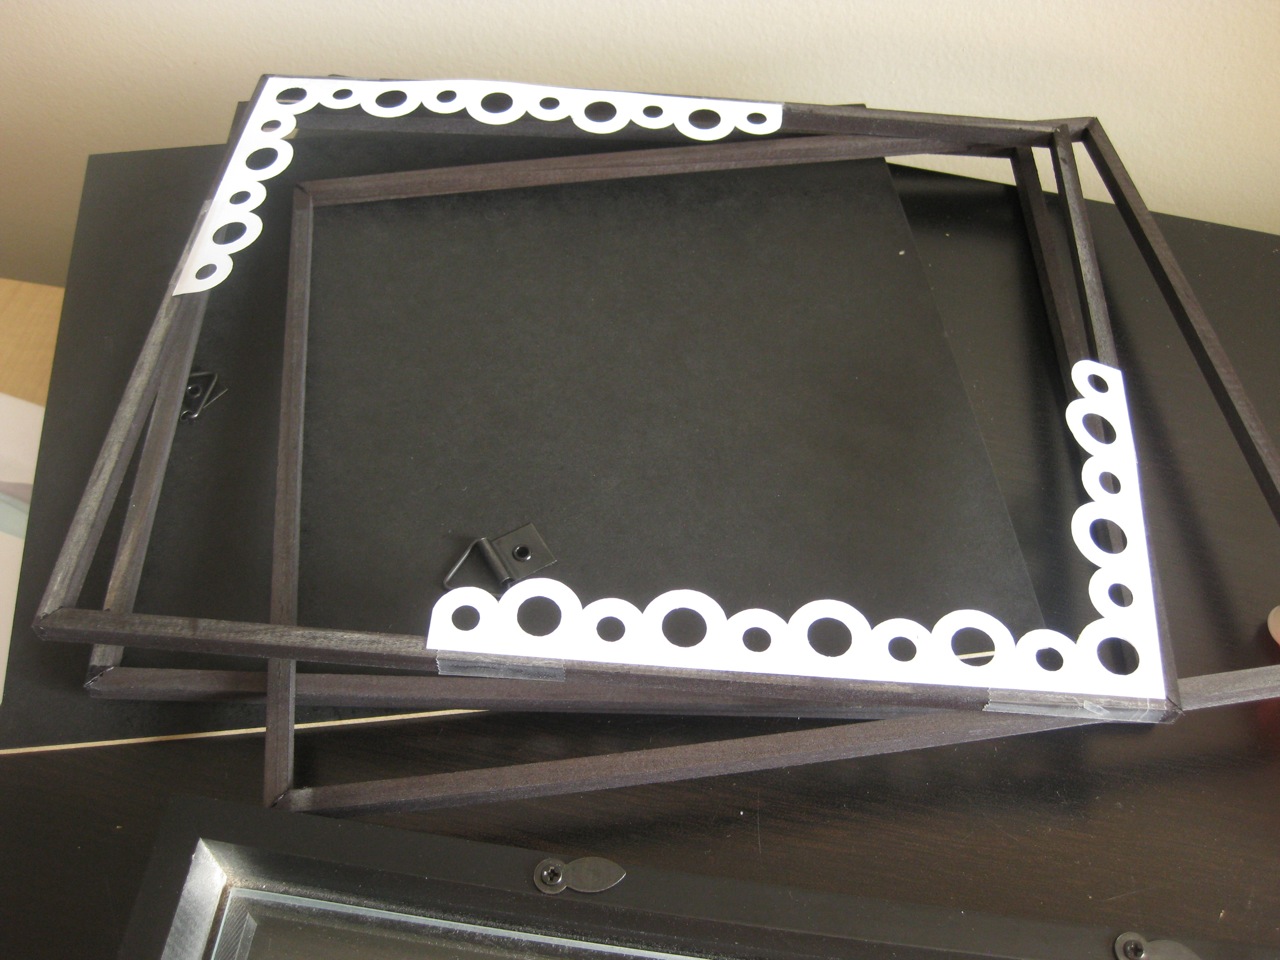
5. Now grab your border. You can have a border that goes all the way around, or only partially like mine. I taped them together at the corner on the back and then I taped them to one of the dividers (be careful that the tape isn't visible from the front.

6. To put it back together, have the glass at the front (be sure it's clean, especially on the inside!), then the divider with the border taped on,

then the other two dividers,

and finally your piece of card stock with the photo and the back piece.
NOTE: It is easier to stand the frame up when putting the card stock with the photo in because the photo and foam weigh down the card stock if it's laying down.

Now admire your handy work (and in my case, my beautiful sister and nephew!).

3 wonderful comments:
I love the partial border! This turned out so great. Leave it to you to take something as simple as framing a picture and turn it into something this creative :)
P.S. That baby boy right there... he's being so grumpy right now and the only thing I can do to make him happy is pretend to throw him over my shoulder like a sack of potatoes.
Erica - this is FAB!! Great idea and what a sweet picture!
Thank you! :D
Tara - That sounds like an exhausting way to keep a baby boy happy! Maybe a good workout though?
Post a Comment